Springtime Baked Goods Easy Recipes
16 Stunning Springtime Baked Goods are more than just recipes; they’re invitations to embrace the season. As the world bursts into vibrant color and life, our kitchens should echo that same joyous awakening. There’s a certain magic that happens when the oven warms our homes on a crisp spring day, filling the air with the comforting aromas of fresh fruits, delicate spices, and sweet pastries. We adore these treats because they capture the very essence of renewal – think light, airy textures, bright citrus notes, and the delightful crunch of a perfectly baked crust. What makes these 16 Stunning Springtime Baked Goods truly special is their ability to transport us, offering a taste of sunshine and a moment of pure, unadulterated pleasure. Whether you’re a seasoned baker or just starting out, these creations are designed to inspire and delight, bringin extractg a touch of springtime elegance to your table.
Springtime Baking Delights: 16 Stunning Recipes to Brighten Your Season
As the days lengthen and the world bursts into vibrant color, there’s no better way to celebrate than by filling your kitchen with the sweet aromas of springtime baking. From delicate floral notes to zesty citrus bursts, these 16 baked goods capture the essence of the season. We’ve curated a collection that ranges from light and airy cakes to comforting, fruit-filled pastries, perfect for any occasion, whether it’s a leisurely brunch, an afternoon tea, or simply a treat for yourself. Get ready to embrace the sunshine and bake up some joy!
Ingredients:
Baking Instructions:
Let’s dive into how we can bring these springtime visions to life. We’ll start with a versatile base that can be adapted for many of the recipes, and then we’ll explore some specific techniques to achieve those stunning results.
Phase 1: The Foundation – Basic Batters and Doughs
Many of our springtime bakes will rely on a few fundamental recipes. For cakes and muffins, we’ll start with a classic creaming method.
1. Creaming the Butter and Sugar: In a large bowl, I like to cream together the softened unsalted butter and granulated sugar until the mixture is light and fluffy, almost pnon-alcoholic ale in color. This process is crucial as it incorporates air into the butter and sugar, which will contribute to a tender crum extractb in your finished baked goods. Using a stand mixer with the paddle attachment makes this process easier, but a hand mixer or even a sturdy whisk and some elbow grease will do the job. Aim for about 3-5 minutes of vigorous mixing.
2. Incorporating Eggs and Flavorings: Once the butter and sugar are perfectly creamed, I add the large eggs one at a time, beating well after each addition to ensure they are fully incorporated. This helps to emulsify the batter and prevent it from becoming greasy. Next, I stir in the vanilla extract for that classic, comforting flavor. For a springtime twist, you can also add lemon or orange zest at this stage, or even a hint of almond extract for a sophisticated note.
3. Alternating Dry and Wet Ingredients: In a separate bowl, I whisk together the all-purpose flour, baking powder, baking soda, and salt. This ensures that the leavening agents and salt are evenly distributed throughout the flour. Then, I gradually add the dry ingredients to the wet ingredients, alternating with the milk. I usually start and end with the dry ingredients, mixing on low speed until just combined. Overmixing at this stage can develop the gluten in the flour too much, resulting in a tough baked good. A few small lumps of flour are perfectly fine.
For pastries and tarts, we’ll need a good dough.
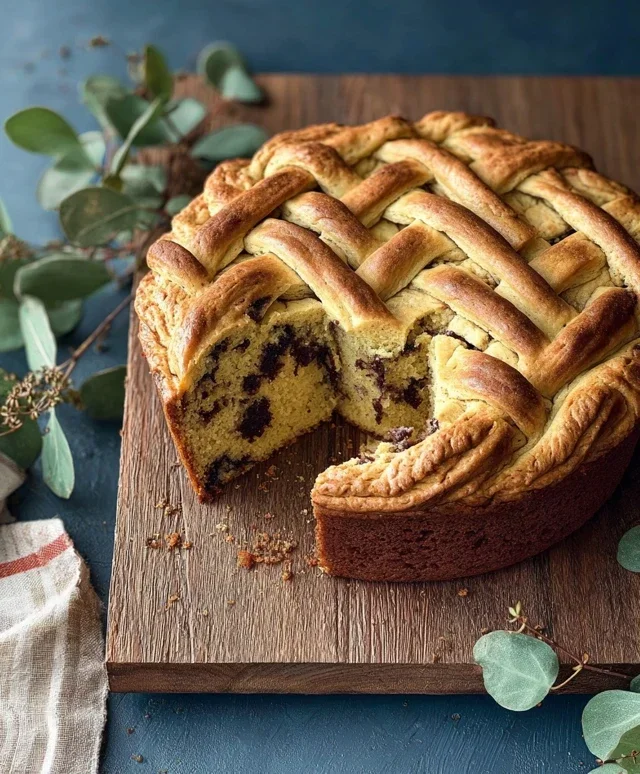
4. Preparing Pastry Dough: For flaky pastry, a common method involves cutting cold, cubed unsalted butter into the flour until it resembles coarse crum extractbs. This is where pastry flour can make a difference, as it has a lower protein content, leading to a more tender crust. Once the butter is incorporated, I add ice-cold water, a tablespoon at a time, mixing until the dough just comes together. It’s important not to overwork the dough, as this will make it tough. Wrap the dough tightly in plastic wrap and chill it in the refrigerator for at least 30 minutes to allow the gluten to relax and the fat to firm up. This step is critical for achieving that desirable flakiness.
Phase 2: Assembling and Baking the Masterpieces
Now that our basic components are ready, we can start assembling our stunning springtime creations.
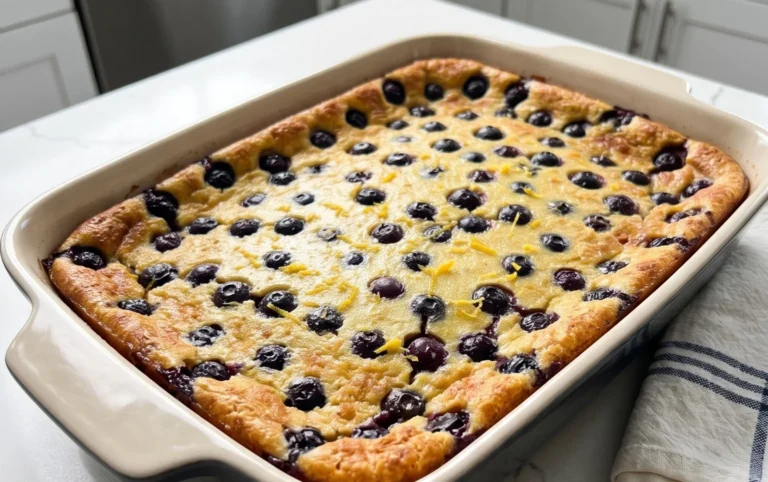
5. Creating Vibrant Fillings and Toppings: Many of our springtime recipes will feature fresh fruits, and making delicious fillings and toppings is key. For berry compotes, I gently cook fresh berries with a touch of sugar and a squeeze of lemon juice until they soften and release their juices. For a lighter, brighter topping, whipped cream or a cream cheese frosting infused with citrus zest or a hint of lavender can be divine. For rhubarb, a simple simmer with honey and a pinch of cinnamon creates a wonderfully tart and sweet filling. When preparing ricotta fillings for tarts or pastries, ensure your ricotta is well-drained to avoid a watery consistency. A touch of almond extract or lemon zest can elevate a simple ricotta filling beautifully.
Phase 3: Finishing Touches and Presentation
The final steps often involve glazes, frostings, and garnishes that elevate our baked goods from delicious to truly stunning.
With these techniques and ingredients, you’re well on your way to creating a breathtaking array of springtime baked goods that are as delightful to behold as they are to devour. Enjoy the process, and savor the sweet fruits of your labor!
Conclusion:
We’ve explored a delightful array of 16 stunning springtime baked goods, each designed to capture the fresh, vibrant essence of the season. From light and fruity cakes to delicate tarts and charming cookies, these recipes offer something to celebrate every spring occasion. Their beauty lies not only in their visual appeal but also in their ability to bring a touch of homemade joy to your gatherings. Whether you’re hosting a brunch, a garden party, or simply want to brighten your afternoon tea, these creations are sure to impress. Don’t be afraid to experiment with these wonderful recipes; they are wonderfully forgiving and adaptable to your own personal touches.
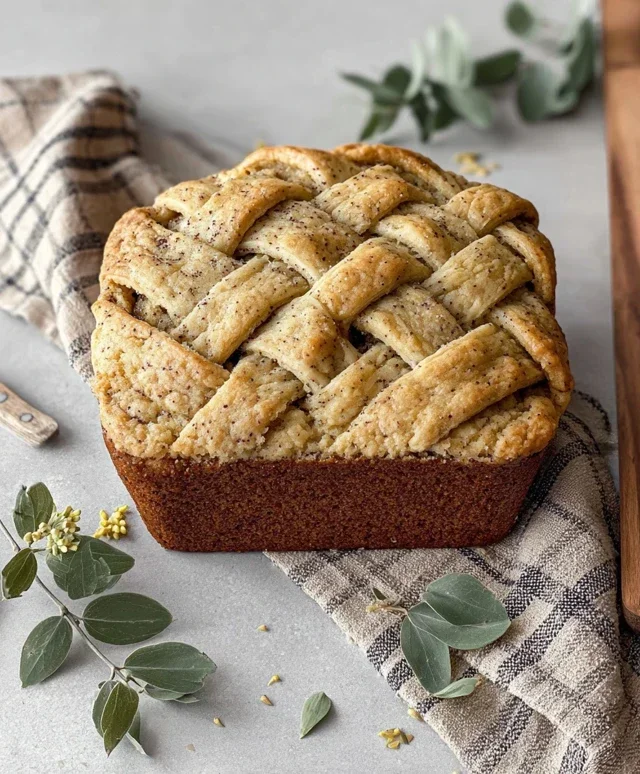
For serving, consider pairing a lemon-lavender loaf with a dollop of whipped cream and fresh berries, or a rhubarb crum extractble with a scoop of vanilla bean ice cream. The possibilities are truly endless, and the joy of sharing these homemade treats with loved ones is immeasurable. I wholeheartedly encourage you to dive into this collection and find your new favorite springtime baking adventure!
Frequently Asked Questions:
Can I make these baked goods ahead of time?
Many of these recipes can be made a day or two in advance, which is perfect for stress-free entertaining. Cakes and cookies often store well in airtight containers at room temperature, while cream-based fillings or delicate pastries might be best assembled closer to serving time. Always refer to individual recipe notes for specific storage recommendations.
What if I don’t have a specific spring fruit like rhubarb or strawberries?
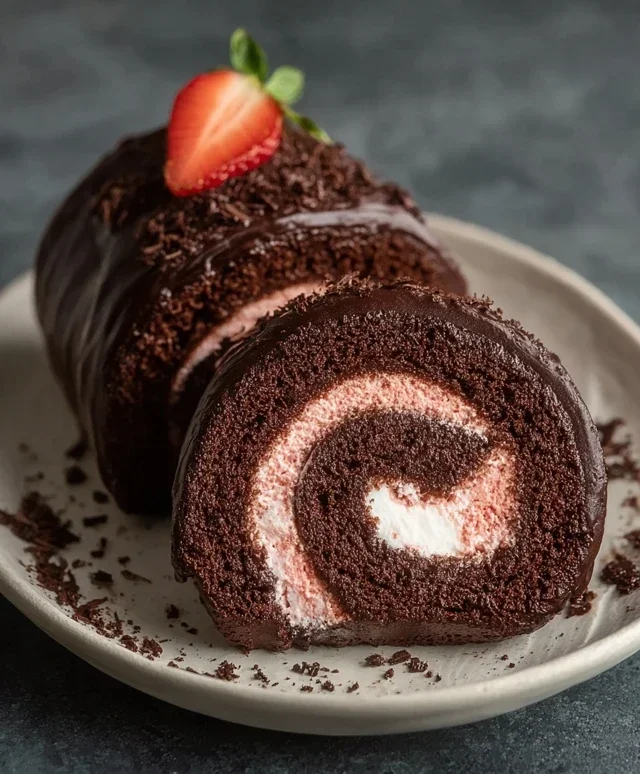
Don’t worry! Many of these recipes are versatile. For instance, you can often substitute other seasonal berries like blueberries or raspberries in place of strawberries. If a recipe calls for rhubarb, you might try a tart apple or even a firm pear for a different, yet equally delicious, flavor profile.
16 Stunning Springtime Baked Goods
A curated collection of delightful baked goods perfect for celebrating the freshness and vibrancy of springtime. These recipes are designed to be visually appealing and delicious, using seasonal flavors and ingredients.
Ingredients
-
1 cup all-purpose flour
-
1/2 cup granulated sugar
-
1/4 cup unsalted butter, softened
-
1 large egg
-
1 teaspoon baking powder
-
1/2 cup milk
-
1/4 teaspoon salt
-
1 teaspoon vanilla extract
-
Fresh berries (e.g., strawberries, blueberries)
-
Lemon zest
Instructions
-
Step 1
Preheat oven to 350°F (175°C). Grease and flour a baking sheet. -
Step 2
In a large bowl, cream together the softened butter and granulated sugar until light and fluffy. -
Step 3
Beat in the egg and vanilla extract until well combined. -
Step 4
In a separate bowl, whisk together the flour, baking powder, and salt. -
Step 5
Gradually add the dry ingredients to the wet ingredients, alternating with the milk, beginning and ending with the dry ingredients. Mix until just combined. -
Step 6
Gently fold in fresh berries and lemon zest. -
Step 7
Drop rounded spoonfuls of batter onto the prepared baking sheet. -
Step 8
Bake for 12-15 minutes, or until golden brown and a toothpick inserted into the center comes out clean. -
Step 9
Let cool on the baking sheet for a few minutes before transferring to a wire rack to cool completely. -
Step 10
Decorate with additional berries or a light dusting of powdered sugar, if desired.
Important Information
Nutrition Facts (Per Serving)
It is important to consider this information as approximate and not to use it as definitive health advice.
Allergy Information
Please check ingredients for potential allergens and consult a health professional if in doubt.