Red White and Blue Dirt Cups Patriotic Dessert
Red, White and Blue Dirt Cups are more than just a dessert; they’re a nostalgic trip back to childhood fun and a guaranteed crowd-pleaser for any occasion, especially during those patriotic holidays! If you’re looking for a treat that’s as delightful to assemble as it is to devour, then you’ve landed in the right place. These adorable Red, White and Blue Dirt Cups capture the spirit of summer celebrations and are ridiculously easy to whip up, making them perfect for little hands to help with. What truly sets these apart is their playful presentation – layers of creamy pudding, crushed cookies that resemble rich soil, and vibrant red and blue toppings that scream festivity. It’s this simple yet brilliant concept that makes everyone, from toddlers to grown-ups, fall in love with them time and time again. Get ready to impress with this wonderfully whimsical dessert!
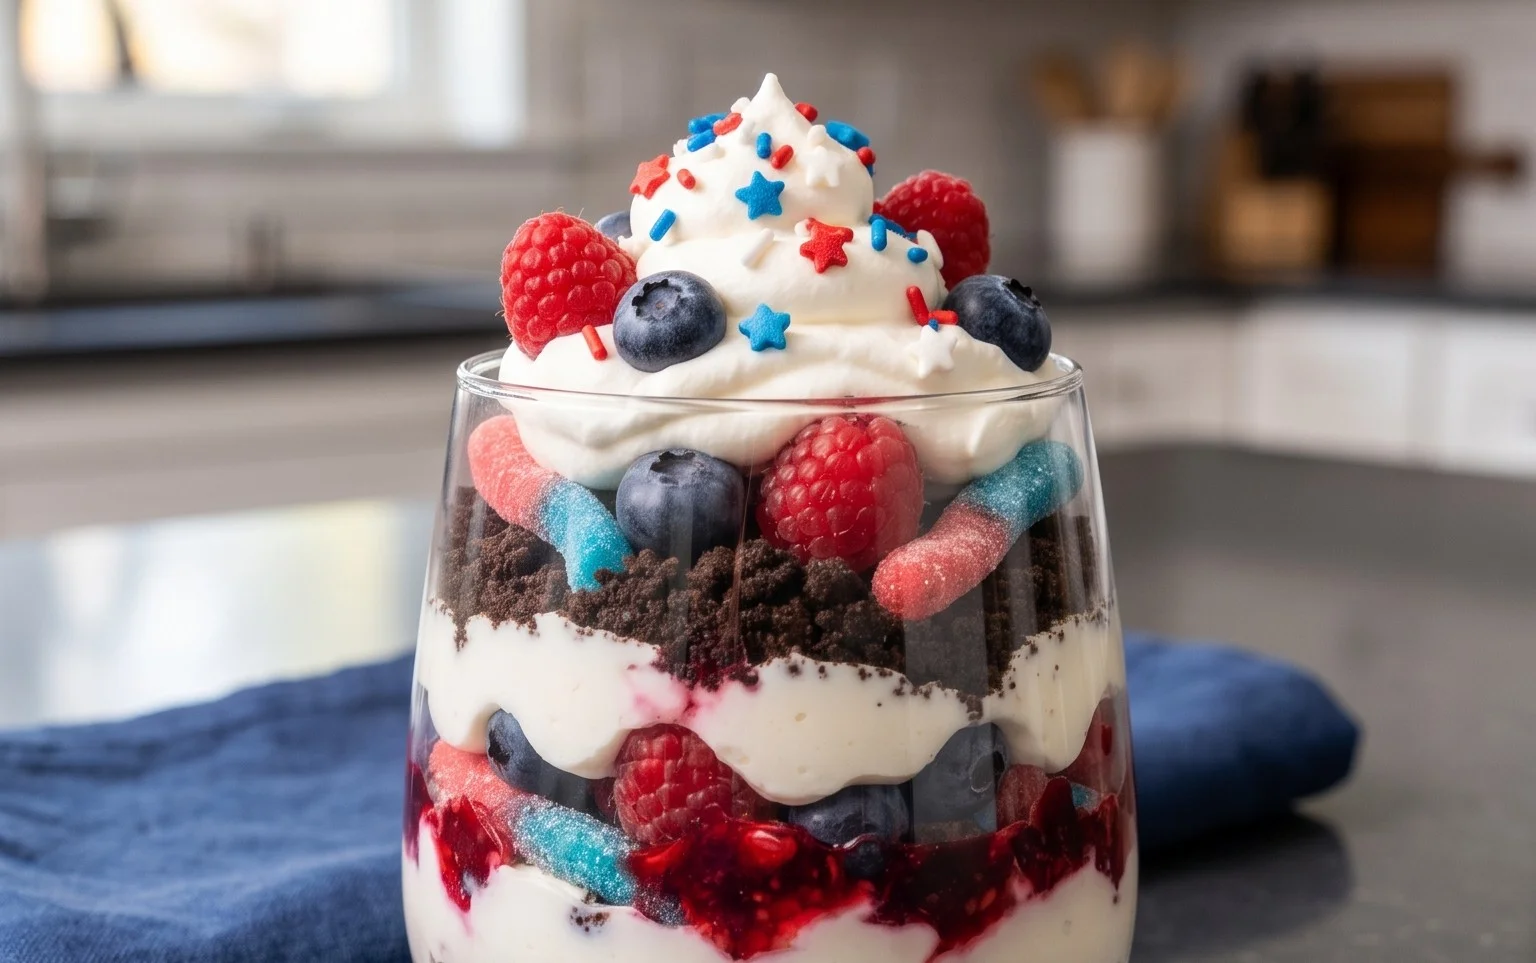
Red, White and Blue Dirt Cups
Get ready to wow your taste buds and your eyes with these adorable and delicious Red, White and Blue Dirt Cups! Perfect for any patriotic celebration, summer picnic, or just a fun treat for the kids (and let’s be honest, for us adults too!), these layered delights are as easy to make as they are to devour. Imagin extracte the classic fun of dirt cups, but with a vibrant, festive twist that screams “America!” We’re talking creamy, dreamy pudding, rich chocolate cookie crum extractbles, and bursts of patriotic color. This recipe is designed to be simple, so you can spend less time in the kitchen and more time enjoying the festivities. Let’s dive into what you’ll need to create this masterpiece!
Ingredients:
Creating the Layers of Deliciousness
This recipe is all about building those beautiful layers that make dirt cups so iconic. We’ll be making a creamy pudding base and then transforming it into a patriotic spectacle. The key to success here is a little bit of patience when it comes to chilling, and a whole lot of fun with the coloring and assembly.
Step 1: Prepare the Chocolate “Dirt”
First things first, we need to create our “dirt.” Take those 19 Oreo cookies and place them into a sturdy zip-top bag. Now, get ready to have some fun – use a rolling pin, the bottom of a heavy pan, or even your hands to crush the cookies into fine crum extractbs. You want them to resemble soil, so aim for a mix of fine powder and a few slightly larger pieces for texture. Set these crushed cookies aside; they’ll be essential for creating that classic dirt cup look and taste. The finer you crush them, the more realistic your “dirt” will appear, and the more evenly they will distribute throughout the pudding.
Step 2: Whip Up the Cheesecake Pudding Base
In a large mixing bowl, combine the contents of both cheesecake pudding boxes with the 4 cups of milk. Now, it’s time to get your whisk or electric mixer out. Whisk vigorously for about 2 minutes, or until the pudding starts to thicken. If you’re using an electric mixer, this will happen even faster. You want a smooth, lump-free consistency. Once it’s well combined and starting to set, cover the bowl with plastic wrap, pressing the wrap directly onto the surface of the pudding to prevent a skin from forming. Refrigerate this pudding base for at least 10 minutes to allow it to set up further before we move on to the fun part – the colors! This brief chilling period is crucial for the next steps.
Step 3: Divide and Conquer with Color
This is where the magic happens! Take your thickened pudding and divide it equally into three separate bowls. You’ll have one bowl for the “white” layer and two bowls for your red and blue layers. In the first of the two smaller bowls, add the ¼ teaspoon of red gel food dye. In the second smaller bowl, add the ¼ teaspoon of blue gel food dye.
Now, it’s time to mix. Gently stir the red gel food dye into its designated bowl until the color is uniform and vibrant. Do the same for the blue gel food dye in its bowl. The gel food coloring is fantastic because it provides intense color without adding extra liquid, which can affect the pudding’s texture. Make sure to mix thoroughly to avoid any streaks of undyed pudding. You want a rich, deep red and a bold, bright blue.
Step 4: Assemble Your Patriotic Masterpieces
Now for the fun part: building your dirt cups! Grab your serving cups. These can be individual clear plastic cups, small mason jars, or even disposable dessert cups. Start by spooning a layer of your chocolate cookie “dirt” into the bottom of each cup. Don’t be shy; a good foundation of “dirt” is key!
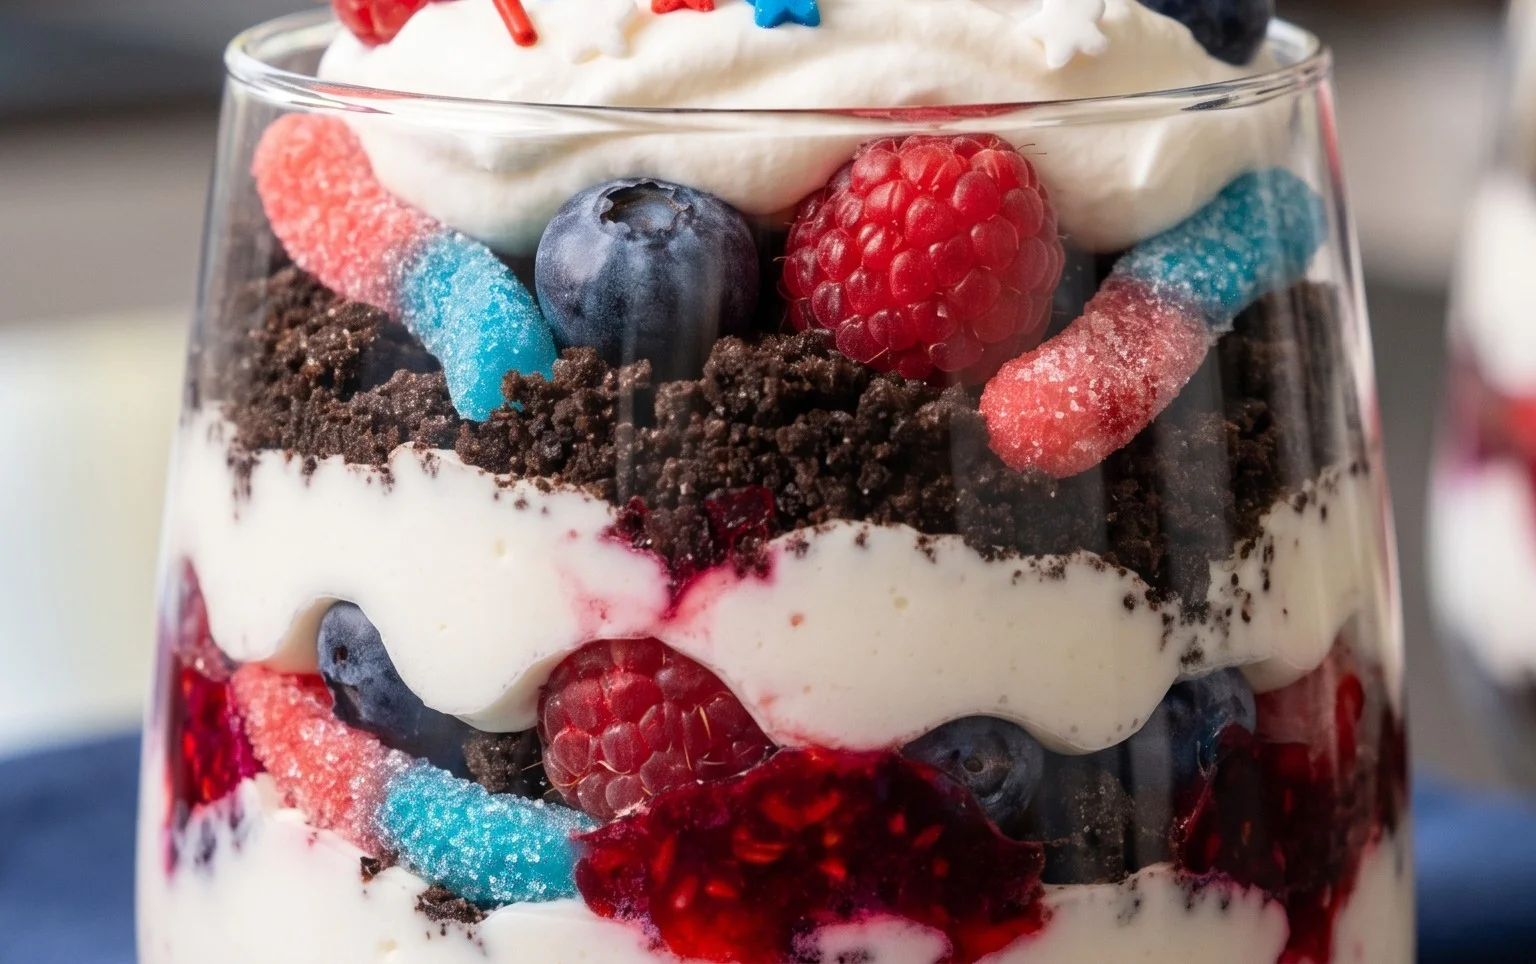
Next, alternate spoonfuls of the white, red, and blue pudding layers. You can do this by carefully spooning them on top of the cookie layer, or you can get fancy and use piping bags for more defined layers. For a more swirled effect, you can gently swirl the colors together with a toothpick. Continue layering the puddings and the cookie “dirt” until your cups are almost full, ending with a final layer of cookie crum extractbs on top to truly complete the “dirt” illusion. Remember to reserve a few gummy worms for decoration!
Step 5: The Finishing Touches and Chill Time
Once your cups are layered and look like miniature landscapes of patriotic soil, it’s time for the final flourish. Take your 8 red and blue gummy worms and artfully arrange them on top of the “dirt.” You can have them crawling out of the dirt, or simply resting on top like little edible garden inhabitants. These gummy worms add a fun texture and a pop of sweetness that complements the creamy pudding and chocolatey cookie crum extractbs.
Finally, cover your assembled dirt cups loosely with plastic wrap or lids. Refrigerate them for at least 30 minutes before serving. This chilling time allows the flavors to meld together and ensures the pudding is perfectly set, making for a delightful texture with every spoonful. The longer they chill, the better they will taste! Enjoy your festive and delicious Red, White and Blue Dirt Cups! They are sure to be a hit!
Conclusion:
I hope you’re as excited as I am to whip up these fantastic Red, White and Blue Dirt Cups! This recipe truly is a winner for so many reasons. It’s incredibly easy to make, making it perfect for a fun family activity or a last-minute patriotic treat. The combination of creamy pudding, crunchy cookies, and sweet whipped topping is simply irresistible, and the vibrant colors make it a showstopper for any occasion, especially Fourth of July celebrations or Memorial Day picnics. The beauty of these dirt cups lies in their versatility; they’re wonderful served chilled as a delightful dessert on a warm day, or even as a playful addition to a holiday dessert table. Don’t be afraid to get creative with the layering and toppings – it’s all part of the fun!
So go ahead, gather your ingredients, and give these Red, White and Blue Dirt Cups a try. I promise you, they’ll be a hit with kids and adults alike! They are a delicious way to celebrate and enjoy a simple, yet impressive, dessert.
Frequently Asked Questions:
How far in advance can I make these dirt cups?
You can prepare these Red, White and Blue Dirt Cups a day in advance. Store them covered in the refrigerator. The cookies will soften slightly, which many people actually prefer! Just add any fresh fruit toppings right before serving to keep them looking their best.
Can I use a different type of cookie besides Oreos?
Absolutely! While Oreos are classic for a reason, feel free to experiment with other chocolate sandwich cookies. You could also try chocolate grabeef ham crackers or even chocolate wafers for a slightly different texture and flavor profile.
Are there any dairy-free or vegan options for these dirt cups?
Yes, you can easily adapt this recipe to be dairy-free or vegan. Use a dairy-free chocolate pudding mix and prepare it with a plant-based milk like almond or soy milk. For the whipped topping, opt for a coconut-based or other vegan whipped topping. Many chocolate sandwich cookies are also accidentally vegan, so double-check the ingredients on your chosen brand.
Red, White and Blue Dirt Cups
A festive and easy dessert inspired by the colors of the American flag, perfect for holidays and celebrations.
Ingredients
-
2 boxes cheesecake pudding (3.4 ounces each)
-
4 cups milk
-
19 Oreo cookies (crushed)
-
¼ teaspoon red gel food dye
-
¼ teaspoon blue gel food dye
-
8 red and blue gummy worms
Instructions
-
Step 1
In a large bowl, whisk together the cheesecake pudding mix and milk until well combined and slightly thickened. Let it sit for 5 minutes. -
Step 2
Divide the pudding mixture into three separate bowls. Leave one bowl plain for the white layer. -
Step 3
Add the red gel food dye to one of the bowls and stir until evenly colored. Add the blue gel food dye to the third bowl and stir until evenly colored. -
Step 4
In the bottom of 8 clear cups or jars, layer about 1 tablespoon of crushed Oreo cookies. This is your ‘dirt’. -
Step 5
Spoon alternating layers of the white, red, and blue pudding into each cup. You can swirl them slightly for a marbled effect if desired. -
Step 6
Top each cup with more crushed Oreo cookies to create the ‘dirt’ layer on top. -
Step 7
Garnish each dirt cup with a red and blue gummy worm sticking out of the ‘dirt’. -
Step 8
Refrigerate for at least 15 minutes before serving to allow the pudding to set further.
Important Information
Nutrition Facts (Per Serving)
It is important to consider this information as approximate and not to use it as definitive health advice.
Allergy Information
Please check ingredients for potential allergens and consult a health professional if in doubt.