Easy Blueberry Lemon Jam Recipe – Sweet & Tart Delight
Easy Blueberry Lemon Jam is about to become your new favorite kitchen project, and trust me, it’s as delightful to make as it is to eat. There’s a reason this classic combination is so beloved – the sweet, bursting flavor of blueberries perfectly complements the bright, zesty tang of lemon. It’s a match made in pantry heaven! What truly makes this easy blueberry lemon jam special is its simplicity. Forget complicated pectin ratios or hours of stirring; this recipe is designed for busy cooks who crave homemade goodness without the fuss. Imagin extracte slathering warm toast with this vibrant, jewel-toned jam, or swirling it into yogurt for a special breakfast. It’s a taste of sunshine captured in a jar, and once you try this easy blueberry lemon jam, you’ll wonder why you ever bought store-bought.
Easy Blueberry Lemon Jam
There’s something incredibly satisfying about making your own jam. The sweet, tart burst of fruit, the comforting warmth of a jar fresh from the stove – it’s a little jar of sunshine. And if you’re looking for a simple, delicious, and incredibly rewarding jam to make, look no further than this Easy Blueberry Lemon Jam. This recipe is so straightforward, even if you’ve never made jam before, you’ll be amazed at how easily you can whip up a batch of homemade goodness. The vibrant blueberries create a beautiful color, while the bright, zesty lemon cuts through the sweetness, creating a perfectly balanced flavor. It’s wonderful on toast, swirled into yogurt, or even as a topping for pancakes and waffles. Let’s get started!
Ingredients:
Cooking Instructions:
This jam comes together remarkably quickly, which is another reason why I love it. We’re not dealing with large quantities, and the natural pectin in the blueberries, combined with a little bit of cooking time, will get us to that perfect jammy consistency. You won’t need any special equipment beyond a medium-sized saucepan and a few basic kitchen tools.
Step 1: Preparing the Fruit and Flavor Base
Start by ensuring your blueberries are thoroughly washed and any stray stems have been removed. This is a simple but important step for the best texture and appearance of your jam. Next, we’ll introduce the star flavor enhancer: lemon. For the zest, I like to use a fine grater or a microplane. You want to get just the yellow part of the peel, avoiding the bitter white pith underneath. The zest will impart a wonderfully aromatic and bright citrus note that complements the blueberries beautifully. Once zested, cut the lemon in half and squeeze out all of its juice into a small bowl, being careful to catch any seeds. This juice will provide the necessary acidity to help the jam set and also contribute to that delightful tangy counterpoint to the sweet berries.
Step 2: Combining and Mashing the Berries
Now, transfer your prepared blueberries into a medium-sized, heavy-bottomed saucepan. I prefer a heavy-bottomed pan because it distributes heat more evenly, which helps prevent scorching. Add the lemon zest and lemon juice you prepared to the saucepan with the blueberries. At this stage, you can decide on your desired jam texture. If you like a jam with plenty of whole berry pieces, you can simply gently mash about half of the blueberries with the back of a spoon or a potato masher right in the pot. This will release some of their juices and help them break down during cooking. If you prefer a smoother jam, you can mash more of the berries, or even pulse them briefly in a food processor before adding them to the pot. The key is to get some of the juices flowing.
Step 3: Sweetening and Initial Cooking
Once your blueberries are mashed to your liking and combined with the lemon zest and juice, it’s time to add the sweetener. For this recipe, we’re using maple syrup. Maple syrup adds a lovely subtle sweetness and a slight caramelly depth that works wonderfully with blueberries. Add the 2 tablespoons of maple syrup to the saucepan. Stir everything together gently to ensure the maple syrup is evenly distributed amongst the berries. Place the saucepan over medium heat. We’re going to bring this mixture to a gentle simmer. It’s important to stir frequently at this stage to prevent the berries from sticking to the bottom of the pan. As the mixture heats up, you’ll notice the blueberries starting to break down further and release more of their juices, creating a lovely purple liquid.
Step 4: Simmering and Thickening the Jam
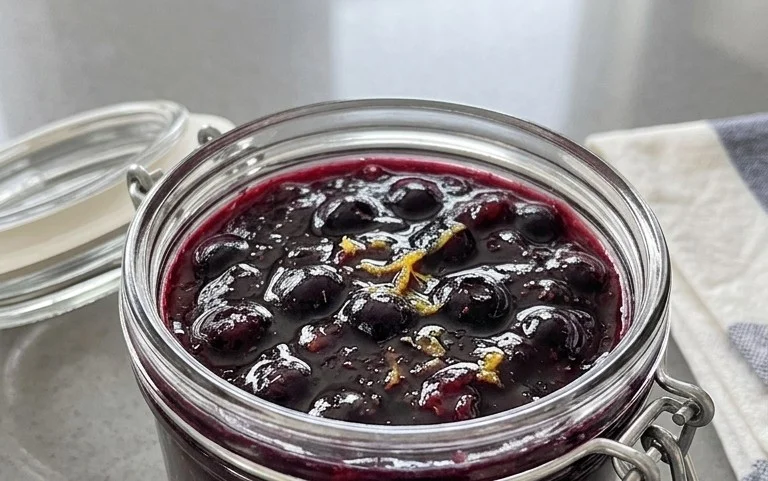
Once the mixture reaches a gentle simmer, reduce the heat to low. This is where the magic happens! We need to let the jam simmer and thicken. Keep stirring regularly, about every 5-10 minutes, to prevent sticking and ensure even cooking. You’ll see the mixture gradually become thicker and glossier. The cooking time can vary depending on your stovetop and the moisture content of your berries, but it typically takes around 15-25 minutes. You’re looking for a consistency where the jam coats the back of a spoon. Another way to test for doneness is the “wrinkle test”: place a small plate in the freezer before you start cooking. When you think the jam is ready, spoon a tiny bit onto the cold plate and let it sit for a minute. If you push it gently with your finger and it wrinkles, it’s ready. If it’s still runny, continue simmering and test again. Be patient; this is the most crucial part for achieving a jam that will set properly.
Step 5: Jarring and Cooling
Once your jam has reached the desired consistency, carefully remove the saucepan from the heat. If you’re planning to store your jam for longer periods, it’s important to use sterilized jars and lids. You can sterilize jars by washing them in hot, soapy water, rinsing them, and then placing them in a preheated oven at around 275°F (135°C) for at least 15 minutes. Ladle the hot jam into your sterilized jars, leaving about a 1/2 inch headspace at the top. Wipe any drips from the rim of the jar with a clean, damp cloth before screwing on the lids tightly. Allow the jars to cool completely on the counter. As they cool, you might hear a satisfying “pop” as the lids seal. Once cooled, store your jam in the refrigerator. It should keep well for several weeks. If you’ve used canning methods for a longer shelf life, follow proper canning procedures. Enjoy your delicious homemade Easy Blueberry Lemon Jam!

Conclusion:
And there you have it – a delightful and incredibly simple way to capture the vibrant flavors of summer! This Easy Blueberry Lemon Jam recipe truly delivers on its promise of being both quick to make and utterly delicious. The bright, zesty kick of lemon perfectly complements the sweet, bursting juiciness of the blueberries, creating a beautifully balanced spread that’s so much better than anything store-bought. I’m so excited for you to try this; it’s incredibly rewarding to open a jar of your homemade jam, knowing you created that little burst of sunshine yourself.
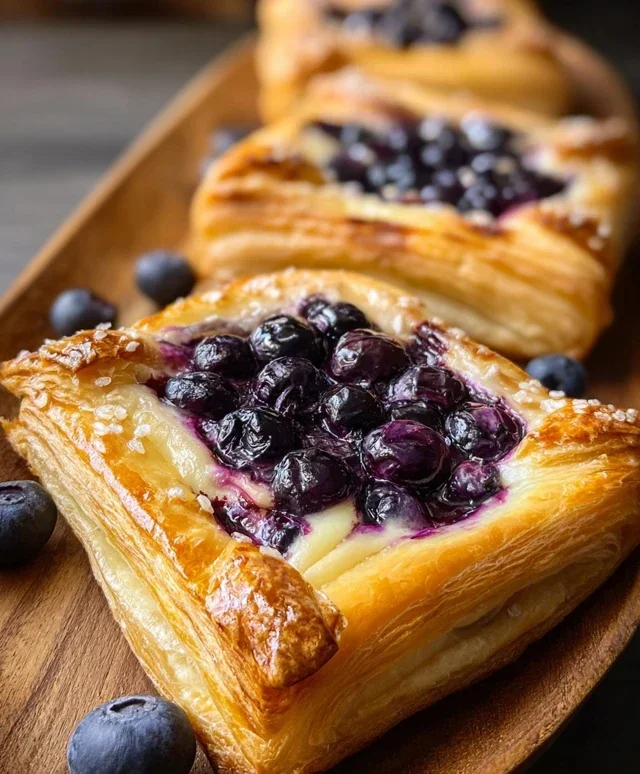
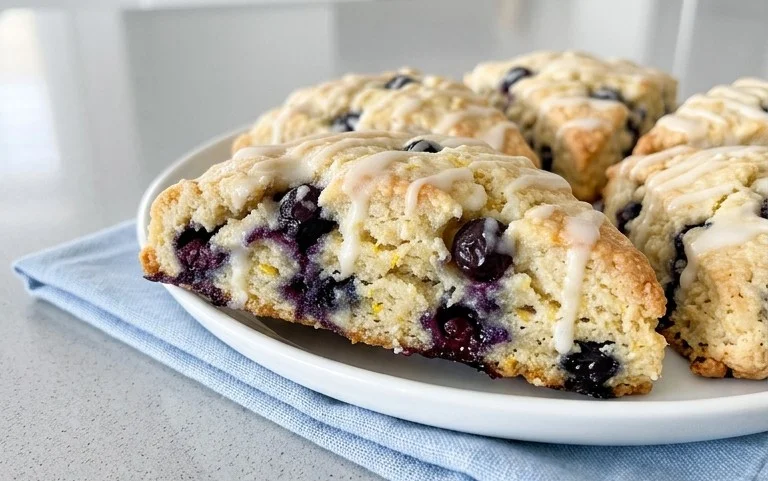
Imagin extracte this glorious jam gracing your morning toast, swirled into plain yogurt, dolloped on scones, or even as a surprising filling for a simple cake. The possibilities are truly endless! For those feeling adventurous, consider adding a pinch of lavender during cooking for a floral note, or a touch of finely grated gin extractger for a gentle warmth. Don’t be intimidated; the process is straightforward, and the results are incredibly satisfying. Give it a go – I promise you won’t regret it!
Frequently Asked Questions:
Can I use frozen blueberries for this recipe?
Absolutely! Frozen blueberries work wonderfully and are often more convenient. Simply add them to your pot directly from the freezer, and they will thaw as they cook down. You might need to adjust the cooking time slightly as frozen fruit can release more liquid.
How long will this jam last in the refrigerator?
When stored in clean, airtight jars in the refrigerator, this Easy Blueberry Lemon Jam should stay fresh and delicious for about 2-3 weeks. Ensure your jars are properly sterilized for the best shelf life.
What if my jam isn’t thickening?
If your jam isn’t reaching the desired consistency, don’t worry! You can often fix this by continuing to simmer the jam over low heat, uncovered, stirring frequently. This allows more liquid to evaporate. Alternatively, you can try adding a little extra pectin or a small amount of lemon juice, which helps with setting.
Easy Blueberry Lemon Jam
A simple and delicious homemade jam bursting with fresh blueberry and bright lemon flavors.
Ingredients
-
4 cups blueberries
-
zest from one small lemon
-
juice from one small lemon
-
2 tbsp maple syrup
-
1/4 teaspoon ground cinnamon
Instructions
-
Step 1
Combine blueberries, lemon zest, lemon juice, and maple syrup in a medium saucepan. -
Step 2
Stir in the ground cinnamon. -
Step 3
Bring the mixture to a boil over medium-high heat, stirring occasionally. -
Step 4
Reduce heat to low and simmer for 20-25 minutes, stirring frequently, until the jam has thickened. -
Step 5
Mash some of the blueberries with the back of a spoon for a smoother consistency, if desired. -
Step 6
Pour the jam into clean jars and let cool completely before storing in the refrigerator.
Important Information
Nutrition Facts (Per Serving)
It is important to consider this information as approximate and not to use it as definitive health advice.
Allergy Information
Please check ingredients for potential allergens and consult a health professional if in doubt.